Set Up OpenVPN On Arch Linux: A Step-by-Step Guide to Secure Remote Access
Set Up OpenVPN On Arch Linux: A Step-by-Step Guide to Secure Remote Access
OpenVPN stands as a cornerstone in modern network security, offering robust encryption and reliable remote connectivity—qualities highly sought after in today’s distributed work environments. As more organizations and independent users leverage Arch Linux for its lightweight, cutting-edge stability, configuring OpenVPN seamlessly becomes a critical skill. This comprehensive guide walks through the essential steps to set up OpenVPN on Arch Linux, ensuring secure tunneling with minimal setup.
Whether accessed via desktop or server, OpenVPN delivers strong privacy and adaptability, making it indispensable for anonymized browsing, site-to-site network extensions, and secure tunneling across untrusted networks.
At its core, OpenVPN is an open-source VPN solution that uses open standards to encrypt IP traffic between devices. Its flexibility supports both UDP and TCP protocols, offering developers and system administrators granular control over connection parameters.
According to the project’s official documentation, “OpenVPN ensures interoperability across platforms while maintaining strong security through modern cryptography.” This makes it a preferred choice for users seeking verifiable security without vendor lock-in.
For Arch Linux users, OpenVPN aligns particularly well with the system’s emphasis on user control and system integrity. Unlike proprietary VPN clients, OpenVPN scripts and configurations are transparent, auditable, and easily customizable.
Setting it up involves installing the OpenVPN package, generating or importing certificates, crafting a configuration file, and enabling the service—all via command-line tools consistent with Arch’s minimalist philosophy. The process, though technically precise, prevents common pitfalls and ensures a secure, persistent connection.
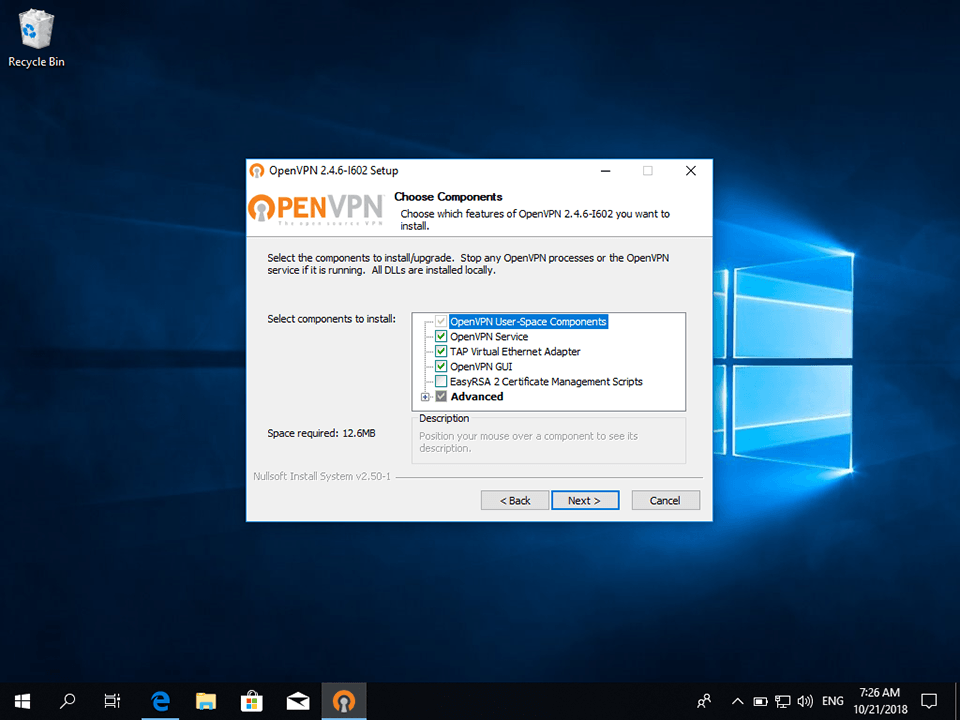
Step-by-Step Installation on Arch Linux
Begin by installing the core OpenVPN package through Arch’s official repositories.Open a terminal and execute:
```bash sudo pacman -S openvpn ```If the package is not immediately available—or for custom setups—download the OpenVPN source from its official repository (https://openvpn.net/downloads-source/), build from source, or use precompiled binaries tailored to Arch OKRs. Building from source offers advanced customization but requires careful dependency management. For most users, installing directly from Arch’s Pacman storage is sufficient and avoids compilation risks.
Next, set up the Diffie-Hellman key exchange and cipher configurations.
Modern OpenVPN implementations rely on strong Diffie-Hellman groups—source the recommended settings via:
```bash sudo -E wallein fork-key-dh-4096 sudo -E wallein configure ```These commands generate a secure 4096-bit DH group and apply the latest cryptographic standards, aligning with best practices for long-term security. The Wallein crypto suite is widely praised for balancing performance and protection, making it ideal for Arch Linux environments prioritizing resilience over obsolescence.
Generating and Managing Certificates and Keys
Certificate management forms the backbone of OpenVPN security. On Arch Linux, users can either generate self-signed certificates for testing or import pre-signed certificates from a trusted Certificate Authority (CA).For production, utilizing a CA ensures stronger trust but for local networks, self-signed certificates suffice with proper configuration.
To generate an auto-generated test certificate and key, run:
```bash openshan key gen-rank 1 ```This creates a 2048-bit RSA key and CertificateSigningRequest, which can then be signed by a CA or used directly in test setups. For persistent, secure deployment, use command-line tools like `easy-rsa` (available via Arch’s `easy-rsa` package) to manage a full PKI, embedding authentication into the connection lifecycle.
Next, configure OpenVPN with a `.ovpn` configuration file. Use a template or draft one manually, defining key parameters: protocol (UDP or TCP), port, server address, client auth, cipher (e.g., AES-256-GCM), and diffusion size.
Example snippet:
```nice client dev tun proto udp remoteEnsure `tls-auth.tls-auth` exists and contains a long-random key—this complements certificate-based auth, adding a layer of protection against man-in-the-middle attempts. All ports should remain open to traffic, but restrict access via firewall rules (discussed briefly later) to maintain security posture.
Seamless Service Setup and Persistence
Install the OpenVPN client service to ensure the tunnel starts automatically on boot: ```bash sudo -E systemctl sudo -E systemctl enable openvpn-client sudo -E systemctl start openvpn-client ```This step embeds OpenVPN within systemd, enabling automatic startup and system-level health monitoring.
Service logs, accessible via `journalctl -u openvpn-client`, offer real-time diagnostics for connection status, errors, or handshake failures—critical for troubleshooting in remote or server deployments.
For immediate access, create a system menu entry in `~/.config/netdns/netdns.conf` or use `netConnectionManager` to enable CLI switching. A simple script like /home/user/setup-openvpn simplifies launch with:
Environment variables like `OPNVPN_TUNNEL` control active connections and can integrate with shell scripts for automated network state management—perfect for advanced users wanting seamless transitions between local and remote networks.
Enhancing Security with Firewalls and Routing
On Arch Linux, Linux’s default `iptables` and `ip route` must be configured to support OpenVPN routing and avoid IP leaks. Common pitfalls include blocking UDP ports or embedding routes in `iptables` rules.Instead, use policy-based rules to redirect all client traffic through the VPN tunnel:
```bash sudo ip route add 10.8.0.0/24 dev tun sudo ip route add 192.168.200.0/24 dev tun sudo iptables -I FORWARD -i tun0 -j ACCEPT sudo iptables -I FORWARD -o tun0 -m state --state NEW,ESTABLISHED -j ACCEPT sudo iptables -A FORWARD -j ACCEPT ```These entries ensure client packets enter the tunnel, while blocking unsolicited forwarding—critical for preserving anonymity and network integrity. Combined with `ping -c 4 8.8.8.8` to verify connectivity, users confirm successful remote access without exposing internal IPs.
DNS leak prevention is another priority.
Configure `resolver` and `dhcp-option DNS` in both client and server configs to route DNS queries through HTTPS-based resolvers (e.g., Cloudflare) rather than local ISPs. This safeguards location metadata from exposure during tunneling.
Finalizing the Setup and Enhancing Resilience
After installation and configuration, test the connection thoroughly.Run:
```bash openvpn --config /etc/openvpn/client.ovpn --verb 3 ```Observe the output: a successful handshake confirms authentication and routing. If errors arise


Related Post

30kg to Pounds: The Exact Weight Conversion That Matters in Every Day Life

Devon Sawa’s Cinematic Journey: The Rise of a Versatile Star in Modern Film

Barbara Dare: A Compelling Journey Through Entertainment and Controversy

What Does “Upd” Mean on Roblox? Unpacking the Term That Drives Alpha Player Culture